Jacksonville, FL Office:
Orlando, FL Office:
Tampa, FL Office:
- Home
- Products
- Training & Services
- Manufacturers
- About Us
- Blog
- Contact Us
close
/ By Jason
That split-second when a load shifts during a lift can turn routine work into a life-threatening emergency. With 2,569,000 nonfatal injuries and illnesses recorded in private industry in a single year according to the U.S. Bureau of Labor Statistics, proper wire rope rigging knowledge isn't optional -- it's critical for survival. In industrial lifting operations, mastering wire rope rigging techniques directly impacts worker safety and project success. The difference between a secure lift and catastrophic failure often comes down to understanding fundamental wire rope rigging principles that many overlook. This guide delivers 20 essential insights to protect your team and keep your projects moving safely forward.
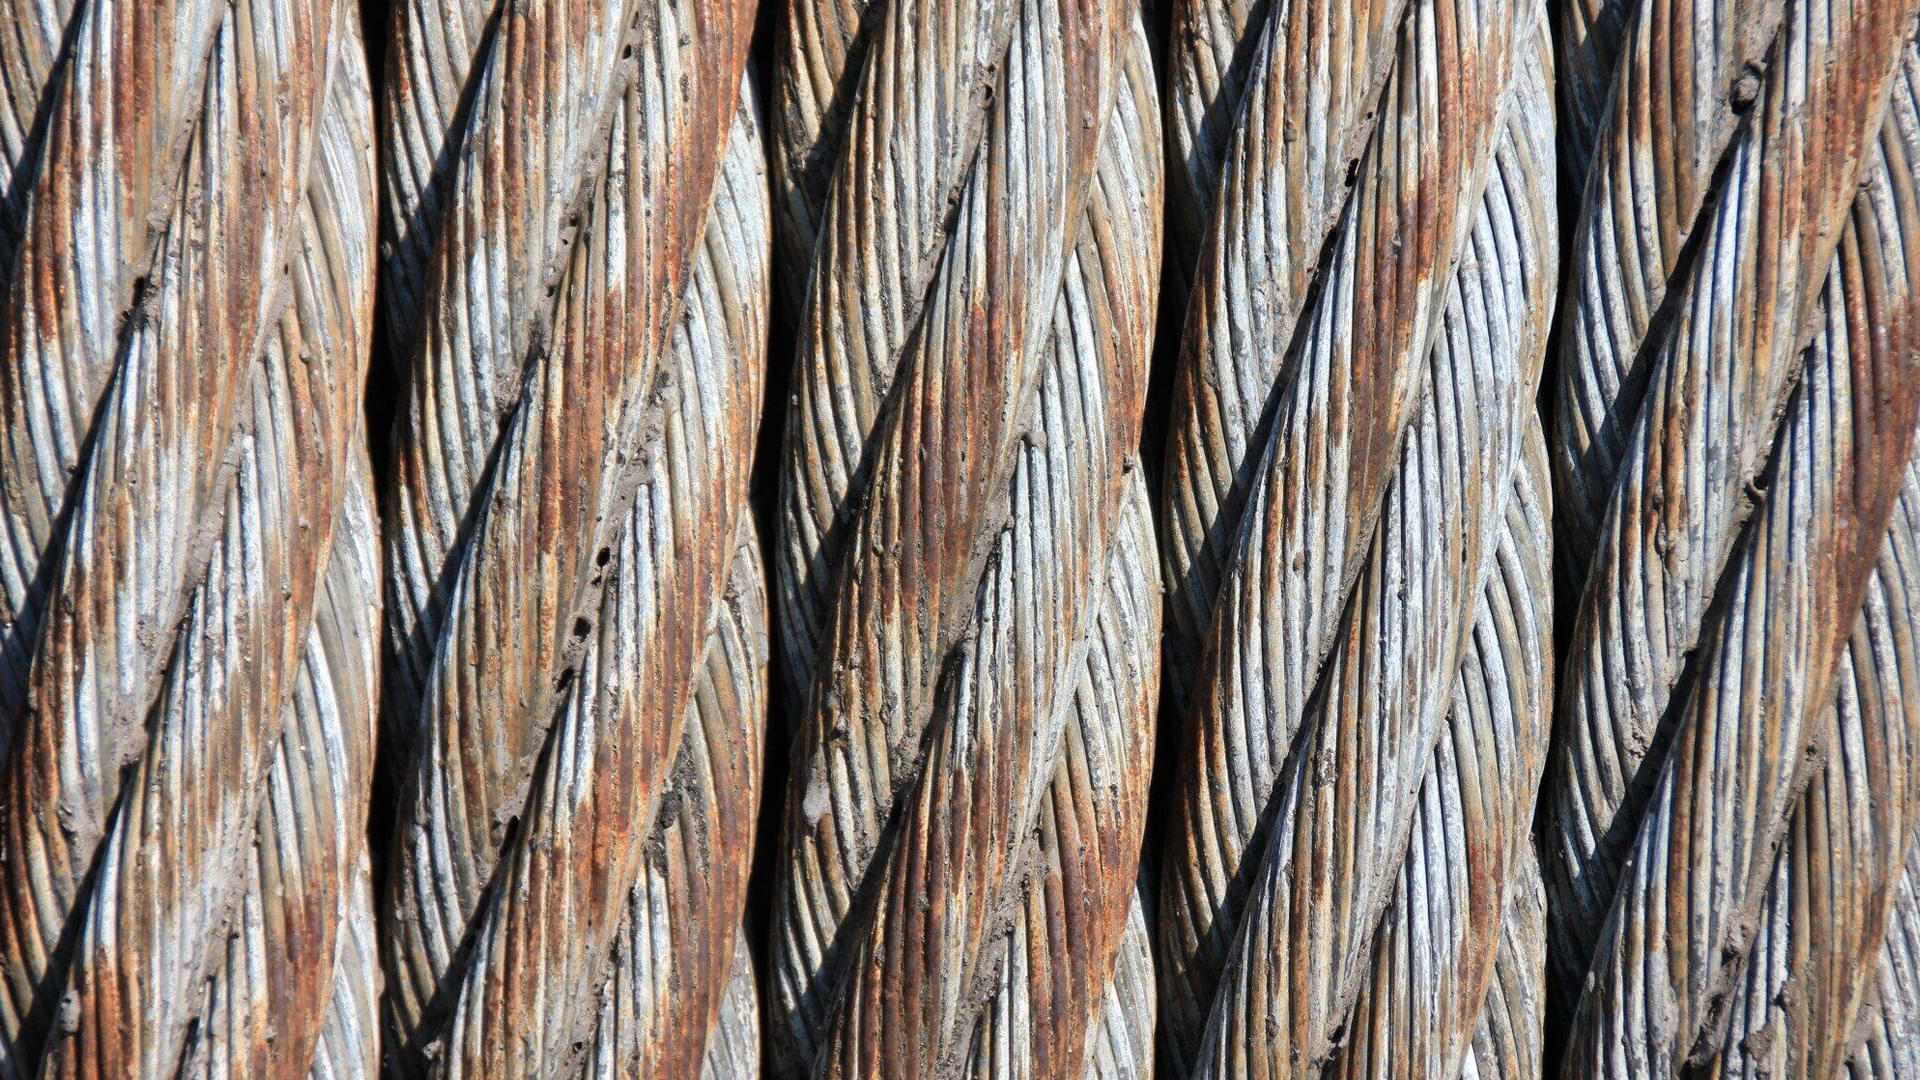
Wire rope isn't just a simple cable -- it's an engineered system with each component playing a crucial role in its load capacity. The core provides structural support while the outer strands and individual wires create the tensile strength needed for lifting. Independent wire rope cores (IWRC) offer greater strength but less flexibility than fiber cores (FC).
When selecting wire rope rigging for your application, consider both the strength requirements and the flexibility needed for your specific operation. For example, 6x19 classification ropes balance strength and flexibility for general use, while 6x37 classification provides greater flexibility for applications requiring frequent bending.
One of the most overlooked aspects of wire rope rigging is the minimum arc of contact required. Always maintain at least one rope lay length (approximately 7 times the rope diameter) when bending wire rope around objects. This prevents excessive stress concentration that can dramatically reduce the rope's effective strength.
For example, a 1-inch diameter rope requires a minimum bend radius of 7 inches to maintain its rated capacity. When wire rope bends around surfaces with too small a radius, the outer wires stretch while inner wires compress, creating differential tension that weakens the entire structure.
Wire rope performance deteriorates significantly outside its optimal temperature range. Never use standard wire rope above 400°F or below -40°F without consulting manufacturer specifications first. High temperatures can compromise the core integrity and lubricant effectiveness, while extreme cold makes wire rope brittle and susceptible to sudden failure.
Temperature effects on wire rope are cumulative and often invisible to the naked eye. For operations in extreme environments, implement a rope rotation system where ropes exposed to temperature extremes are removed from service and inspected more frequently.
Use a rope diameter gauge to measure for reduction in diameter, which indicates core deterioration. Before every lift, inspect wire rope rigging for:
Pay special attention to areas near end fittings and at saddle points where the rope contacts sheaves or drums. A single broken strand can reduce rope strength by up to 20%, while multiple broken strands in close proximity can lead to catastrophic failure under load.
Develop a systematic inspection procedure that employees can follow consistently. Train them to recognize the difference between normal wear patterns and dangerous defects.
Never inspect wire rope with bare hands. Even apparently smooth wire rope can have broken wires that can cause serious puncture injuries. Always wear appropriate cut-resistant gloves when handling wire ropes. Additionally, avoid dragging ropes across abrasive surfaces during inspection, as this can damage the outer wires and reduce rope integrity.
Store wire rope in a clean, dry environment away from chemicals, extreme temperatures, and direct sunlight. Before returning rope to storage, clean it with a wire brush to remove debris and apply a light coating of manufacturer-recommended lubricant to prevent corrosion.
Know when to retire wire rope slings according to OSHA and ASME B30.9 standards. Replace rotating wire ropes immediately if you observe: six randomly distributed broken wires in one lay, three broken wires in one strand within one lay, or visible kinking, crushing, or heat damage. Documentation is key -- maintain detailed inspection records showing date, condition, and inspector identification for each piece of rigging equipment.
When using a choker hitch for cylindrical loads, add wooden blocks at the choke point to prevent sharp bending that can reduce capacity by up to 25%. The ideal choker angle is 120 degrees or greater to maximize the hitch efficiency. Remember that choker hitches only provide about 75% of the sling's rated capacity even under ideal conditions, so calculate your load requirements accordingly.
The effectiveness of a choker hitch varies significantly based on the surface characteristics of the load. Smooth, hard surfaces provide less friction and may require additional securing methods to prevent slippage. For loads with sharp edges, use corner protectors at the choke point to prevent both rope damage and load damage.
For long loads requiring basket hitches, use double hitches with equalizing bars to prevent load shifting. Position web slings at quarter points rather than ends to improve stability. The basket hitch provides the greatest mechanical advantage of all hitches -- up to 200% of the sling's vertical capacity -- but only when the sling legs are vertical. As the included angle decreases, so does the effective capacity.
For loads with an uneven weight distribution, adjust the position of your hitches to compensate by placing them closer to the heavier end of the load. For exceptionally long or flexible loads like structural steel members, employ multiple basket hitches with load-rated spreader beams to maintain load stability throughout the lift.
When using bridle slings, always use identical slings in terms of length, construction, and capacity for proper load distribution. Uneven slings cause some legs to bear more weight than others, potentially exceeding their capacity. Calculate the load on each leg using the sling angle formula: Tension = Load ÷ (Number of legs × Sine of angle from horizontal).
Remember that a four-leg bridle doesn't necessarily provide four times the capacity of a single leg. Due to potential uneven loading, ASME standards recommend calculating capacity based on only three legs supporting the entire load when four legs are used.
Always attach slings to the load first, then to the hook-never the reverse. This "rig up" approach prevents dangerous situations where loads might shift during rigging. When disconnecting, reverse the process by removing the slings from the hook first, then from the load. This simple procedural change significantly reduces the risk of crushed hands and fingers, which are among the most common rigging injuries.
By attaching to the load first, riggers can carefully position and adjust slings while the load is still fully supported by the ground or other stable surface. This allows for proper sling placement, insertion of corner protectors, and verification of hitch security before introducing the tension of the lifting device.
Use taglines for controlling load rotation when using single-part slings. Without taglines, loads can spin unpredictably during lifting, creating dangerous situations for workers and potentially damaging the load or surrounding structures. Position taglines at opposite corners and ensure they're long enough to allow handlers to stand clear of the load path. Never wrap taglines around your hands or body.
Use multiple taglines for complex or highly asymmetrical loads that might rotate in multiple axes. In windy conditions, increase the number of taglines and handlers to maintain control. Consider using high-visibility tagline material to ensure all workers can see these important control devices and stay clear of their paths during operation.
Always lift loads gradually to prevent shock loading, which can temporarily multiply forces acting on wire rope by up to 10 times the static load. Start with a slight tension to remove slack, then pause to check rigging before continuing the lift. Avoid sudden starts, stops, or direction changes that create dynamic loading conditions far exceeding the rope's rated capacity.
Even if a shock-loaded rope doesn't break during the event, it may sustain internal damage that significantly reduces its remaining service life. For loads being lifted from water or mud, calculate the additional force required to break surface tension and incorporate this into your lifting plan.
Position load lines directly above the center of gravity (COG) before lifting to prevent dangerous load shifting or swinging. For asymmetrical loads, perform a test lift a few inches off the ground to verify balance. If the load tilts, lower it immediately and adjust rigging points.
Understanding load balance is particularly critical when rigging irregularly shaped equipment like motors, pumps, or structural components. For complex loads with uncertain centers of gravity, use multiple, independently adjustable attachment points that can be fine-tuned during the initial test lift.
Sling angles dramatically impact work load limits -- a 60-degree angle from vertical reduces capacity by 13%, while a 45-degree angle reduces it by 30%. Never use sling angles less than 30 degrees from horizontal, as this dramatically increases tension in the slings.
Use this simple formula to calculate actual load on slings: Tension = Load Weight ÷ (Number of legs × Sine of angle from horizontal). Remember that the total tension across all sling legs will always exceed the weight of the load when angles are involved.
Develop accurate load measurement practices to prevent overloading wire rope rigging. Never guess weight-consult equipment nameplates, engineering drawings, or calculate based on material density. For steel, use the formula: Weight (lbs) = Volume (cubic inches) × 0.28. Always add 10-15% safety factor to calculated weights to account for unexpected conditions like mud, ice, or retained fluids in equipment.
For irregular objects without documented weights, break down the load into simple geometric shapes, calculate the volume of each, multiply by the material density, and sum the results. Keep a reference chart of common material densities (steel: 490 lbs/ft³, concrete: 150 lbs/ft³, hardwood: 50 lbs/ft³, etc.) in your rigging toolbox.
Use thimbles and clips properly for even load distribution at rope ends. When using wire rope clips, remember "never saddle a dead horse" -- the U-bolt goes on the dead end, saddle on the live end. For shackles, match the size to sling capacity to prevent bunching. The shackle pin diameter should be at least equal to the diameter of the wire rope being used.
Always align shackles in the direction of loading -- never side-load them, as this can reduce capacity by up to 50%. Verify that all hardware components are rated, marked, and traceable to recognized standards.
Use proper cribbing and blocking to stabilize loads during turns and lifts. Hardwood blocking at sling contact points distributes pressure and prevents rope damage. When turning loads, use cribbing to create pivot points that maintain control throughout the operation. Avoid metal-on-metal contact between rigging and sharp load edges by using appropriate softeners or corner protectors.
Never tie slings together as this creates weak points and uneven load distribution. Each knot can reduce rope strength by up to 50%. Instead, use properly sized continuous slings or appropriate hardware connections.
Similarly, avoid direct attachment to eyebolts at angles, which causes abrasion and creates sharp bends in the wire rope. Always use swivel hoist rings for angular lifts. Develop a culture where riggers feel empowered to stop work when proper equipment isn't available or when procedures can't be followed correctly.
Understand the risks of using defective ropes with broken strands or corrosion. Even minor rope damage can lead to catastrophic failure under load. Wire rope with visible rust may have lost significant capacity due to internal corrosion that isn't immediately apparent. Similarly, ropes with flattened sections, bird-caging, or kinks have already been permanently damaged and should be removed from service immediately regardless of how minor the damage appears.
Follow OSHA regulation 1910.184 and ASME B30.9 standards for inspection frequency and documentation. Most wire rope slings require thorough inspection at least annually, with documentation of findings. Invest in comprehensive training for rigging personnel and maintenance tips, covering load dynamics, hitch types, and equipment selection.
Implementing these wire rope rigging practices elevates your operation from merely compliant to industry-leading. Southeast Rigging, Inc. stands as the premier supplier of rigging hardware in the Southeast, with two decades of helping businesses like yours transform safety practices into competitive advantages.
Ready to strengthen your wire rope rigging safety culture? Get a comprehensive site assessment or product consultation. Your team deserves nothing less than the best in rigging safety.
